Drapery Hardware Installation Guide
Gary2025-06-04T14:27:02-04:00We recommend hiring a professional drapery installer for the easiest and most perfect finish but if you are pretty handy these instructions will help guide you through the process!
Tools Required:
- Drill Hacksaw or pipe cutter
- Drill and drill bits
- Tape measure
- Step ladder
- Pencil
- Screws and plugs (if not drilling into wood)
- Allen key (provided if required)
- Brackets (provided if required)
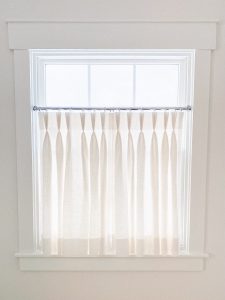
Please note: Your pole will be cut approximately 2” wider than your opening. You will need to cut the pole down to the very accurate finished width after your inside flange brackets are installed. We do this to ensure you get a perfect fit with no gaps at either end. Your cafe curtains will be noted as slightly larger than the width of your pole, this is so they have ease when they are closed to ensure there are no gaps when installed.

Let's get started!
1. Determine your bracket placement for width
- See note above about rod width, your hardware is cut to the size noted on your packing slip
- Brackets should be placed 2” in from each end and in the centre if provided
- Measure width of window, find centre and measure out width of half of the rod less 2” — this is your bracket placement
2. Determine your bracket placement for height
- The finished length of your drapery is noted on the shipping sticker
- Use the following chart to determine the height from the floor for your top screw on the bracket plate by adding the number in the second column to the finished length of your treatment noted on the shipping sticker (see table).
- Use this height from the floor measurement to mark placement of top screws for all bracket plates and mark at least one other screw per bracket
- Predrill holes to check for wood, insert plug if needed and install back plate with screws, attach bracket
3. Affix rod and attach finials/end caps
- Your rod has been cut the correct length for you and if you have followed instructions above, you should be able to place the rod in the brackets and have ~ 2” extending out each side
- If your treatment is wide you will have 2 rods cut to half the width of your treatment and they will be joined/spliced at the centre bracket which covers the join and supports the rods
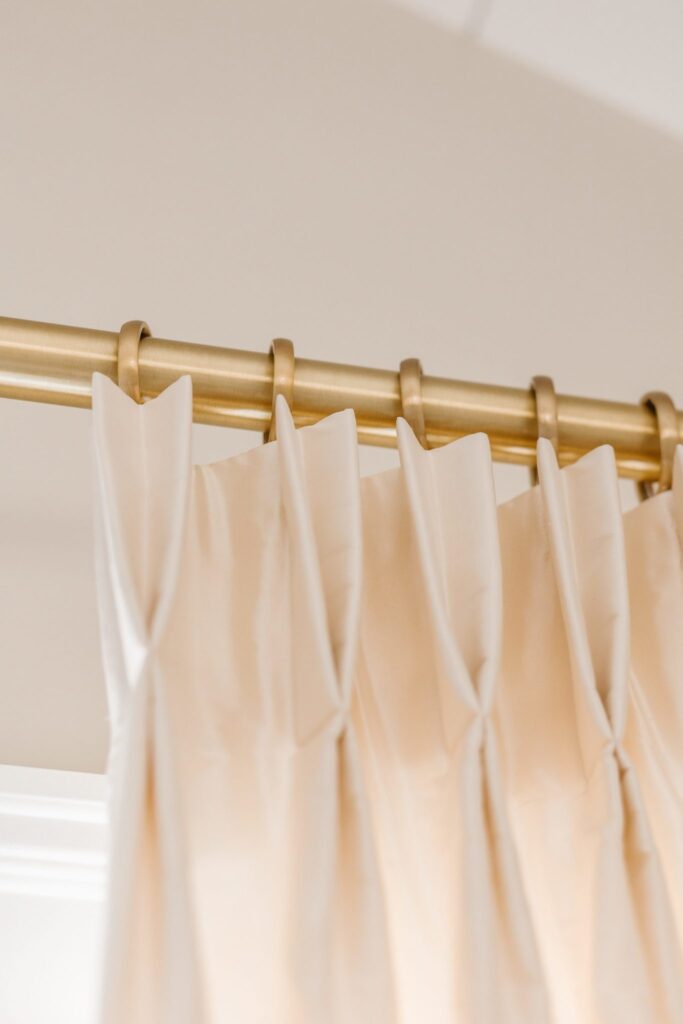
- You require a ring for every hook. Count the rings on each piece and slide that amount of rings onto each side of the rod with one ring on the outside of the bracket
- Once you have placed the rings you can attach the finials over the end of the rod using the allen key provided to tighten them in place. Turn the set screw towards the wall after you secure it because it’s prettier that way!
4. Hang your drapery
- Drapery can be pressed with an iron on medium heat (always test on the back of the hem before you start) or if you have a clothing steamer you can hang the drapery and lightly steam after hanging (note: 100% linen drapery will stretch up to 3″ when steamed)
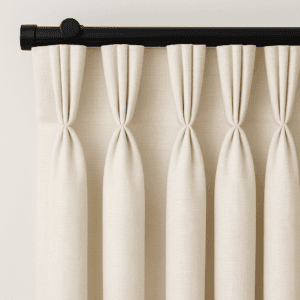
- On the back of your pleated drapery heading, you will see drapery hooks to be inserted into each ring
- Working from the finial inwards slide each drapery hook into the ring loop until all hooks are attached to all rings
- Pull each pleat out and smooth the fabric down to the floor. You can find a video on how to hang and dress your drapery here – VOILA! Perfect drapery!


